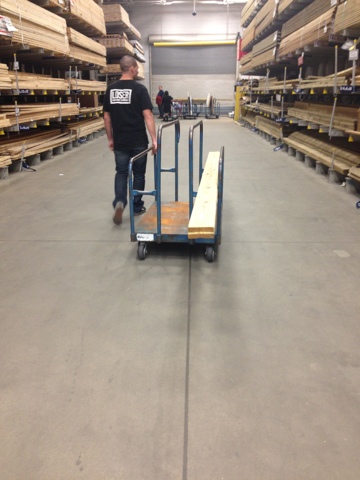
So, I did some googling, talked it over with the husband, and came up with this bad boy, who only cost us a whopping $18.
Relax girlfran
And here's how you make it!
Supplies Needed:
-4 boards (Ours is 48 inches L, 24 inches H - boards are 48"x6")
-8 Screws & Electric Screwdriver
-Scrap wood to attach to the back (the picture later will make more sense
-Oil based stain of your choosing, I used this one - a true "barnwood" stain I think!
-Sponge for Stain
-Brush & Polystain (Optional)
-Gloves
-Circular Hooks for hanging (see picture)
-Gorilla Hooks
Step One:
Get your supplies. We bought everything at Lowes
Step 2:
-Cut the boards, or get them cut at your local store. You can actually have Lowes cut your wood for you, which is why I didn't include a saw in the supplies needed, we have a saw, and in this case, we bought larger boards and had them cut into 3 at the store, and used the leftover ends for the backing.
-As you can see we have 4 boards because the bed in the picture is a full. If you want to make a headboard for a larger bed, just measure 1 inch on both sides, and adjust your measurements
-Each board is screwed in twice (once on each side) to the backwood pieces, I suggest using the black screws, I think they look better with the stain
Step 3: Distress Wood
-When you stain wood, you'll notice if there is an indent in the wood, or a scratch, it holds the stain darker, since I wanted a rustic look, we went to town on this board. As you can see, thats my lovely husband hitting the board with a military issued Kaa-bar. Yay Marines!
-You can use anything really, most people use a chain, but I didn't have one, so we used the metal end of a dog leash, a big long metal thing that turns the sprinklers on, and the kaa-bar.
-Go hog wild, and beat that board down.
Step 4: Stain
-Get your stain on.
-Staining is pretty simple to me, so I didn't take any progress pictures. You can see in this picture the sponge I used, and how I kept the stain all to one side of the sponge. Don't get that thing soaking wet, and always brush with the grain of the wood.
-I always stain the creases and then go back over
-The more stain you use, the darker it will be, if you like the stain I used, this is one coat of this
Step 5: Not Pictured
-Sanding and Polyurethane top coat (Optional)
-What had happened was, my husband left my paddle board directly next to my lovely project, and it fell over, knocked the can of stain, and it splashed onto the wood ruining my lovely headboard. I was so upset. So we tried to sand it out, and ended up loving the way it looked. You should always sand it slightly before the poly coat anyways, but if you want to do it exactly like me, just sand it pretty good in random places to get it more weathered.
-If you're the type of person that doesn't like the unfinished wood look, sand it slightly, and then apply a polyurethane base twice (directions on the product)
Step 6: Hanging
-Here is an example of the hooks we used, we hang everything in our house with those gorilla hooks. They're amazing, and bizarre. I think they used to be called Hercules hooks? Anyways, we have heavy windows, pallets, etc. etc. in our house, and they're all hung just like this! But be careful, studs in the walls are gorilla hooks enemy!
TA DA, You have a fab new headboard for cheap cheap cheap!
I hope you're digging those sheets and pillows as much as I am. I made the shams, quilt, and Relax pillows all myself. This is a handmade house!
Here are some closer up pictures of the stain, the wood, and how it looks hanging up against the bed.
I hung the wood slightly lower than the mattress top because I didn't want my guests banging their head on the wood above them.
Isn't this a beautiful stain?
I am so happy with the finished product, and it's only nearly 1 week until my family gets to experience it all. My older sister has been threatening me that she's taking my brand new quilt (which I've yet to blog about, sorry!) home with her! That quilt had over 10 hours of free motion quilting on it. It's never leaving my hands, ever!


Ok this is amazing! Our bed is just a frame and I hate it. The pillows all fall down behind the bed since there is a space between the wall and the frame. I just might have to talk Thomas into this since we don't have it in the budget for a whole new bed right now. I love your crafty home! I'm slowly working on the craftiness of mine :)
ReplyDeleteWhy do I have to be your "older" sister?!?! Can't I just be your sister?
ReplyDelete